🚩 Create a free WhyLabs account to get more value out of whylogs!
Did you know you can store, visualize, and monitor whylogs profiles with the WhyLabs Observability Platform? Sign up for a free WhyLabs account to leverage the power of whylogs and WhyLabs together!
Writing Reference Profiles to WhyLabs
When monitoring your data, in many cases you'll be interested in comparing data from your production pipeline with a reference, or baseline, profile. This is helpful when inspecting for data drift, or assessing the quality of your data in general.
In this example, we'll show how to send a profile logged with whylogs to your monitoring dashboard at WhyLabs Platform as a Reference Profile. When uploading a Reference Profile, you'll be able to use it for visualization and comparison purposes on your monitoring dashboard.
If you want to log your profiles as regular profiles (Batch Profiles), as opposed to Reference Profiles, please check the Writing to WhyLabs example.
We will:
- Define environment variables with the appropriate Credentials and IDs
- Log data into a profile
- Use the WhyLabs Writer to send the profile as a Reference Profile to your Project at WhyLabs
Installing whylogs
First, let's install whylogs. Since we want to write to WhyLabs, we'll also install the whylabs extra.
If you don't have it installed already, uncomment the line below:
# Note: you may need to restart the kernel to use updated packages.
%pip install whylogs==1.3.32
✔️ Setting the Environment Variables
In order to send our profile to WhyLabs, let's first set up an account. You can skip this if you already have an account and a model set up.
We will need three pieces of information:
- API token
- Organization ID
- Dataset ID (or model-id)
Go to https://whylabs.ai/free and grab a free account. You can follow along with the examples if you wish, but if you’re interested in only following this demonstration, you can go ahead and skip the quick start instructions.
After that, you’ll be prompted to create an API token. Once you create it, copy and store it locally. The second important information here is your org ID. Take note of it as well. After you get your API Token and Org ID, you can go to https://hub.whylabsapp.com/models to see your projects dashboard. You can create a new project and take note of it's ID (if it's a model project it will look like model-xxxx).
import whylogs as why

why.init()
Fetching the Data
For demonstration, let's use data for transactions from a small retail business:
import pandas as pd

csv_url = "https://whylabs-public.s3.us-west-2.amazonaws.com/datasets/tour/current.csv"
df = pd.read_csv(csv_url)

df.head()
| Transaction ID | Customer ID | Quantity | Item Price | Total Tax | Total Amount | Store Type | Product Category | Product Subcategory | Gender | Transaction Type | Age | |
|---|---|---|---|---|---|---|---|---|---|---|---|---|
| 0 | T14259136777 | C274477 | 1 | 148.9 | 15.6345 | 164.5345 | TeleShop | Electronics | Audio and video | F | Purchase | 37.0 |
| 1 | T7313351894 | C267568 | 4 | 48.1 | 20.2020 | 212.6020 | Flagship store | Home and kitchen | Furnishing | M | Purchase | 25.0 |
| 2 | T37745642681 | C267098 | 1 | 10.9 | 1.1445 | 12.0445 | Flagship store | Footwear | Mens | F | Purchase | 42.0 |
| 3 | T13861409908 | C271608 | 2 | 135.2 | 28.3920 | 298.7920 | MBR | Footwear | Mens | F | Purchase | 43.0 |
| 4 | T58956348529 | C272484 | 4 | 144.3 | 60.6060 | 637.8060 | TeleShop | Clothing | Mens | F | Purchase | 39.0 |
📊 Profiling the Data
Let's profile the data with whylogs:
import whylogs as why
from datetime import datetime, timezone
current_date = datetime.now(timezone.utc)
profile = why.log(df, dataset_timestamp=current_date, name="tour")
We're setting the profile's dataset timestamp as the current datetime. If this is not set, the Writer would simply assign the current datetime automatically to the profile.
In this case, We named the refrence profile tour, which means we can find it in the profile page under that name. We could also name it "" (empty string) which tells WhyLabs to generate a name for it based on the timestamp, like ref-2022-08-16T17:53:49.041
🔍 A Look on the Other Side
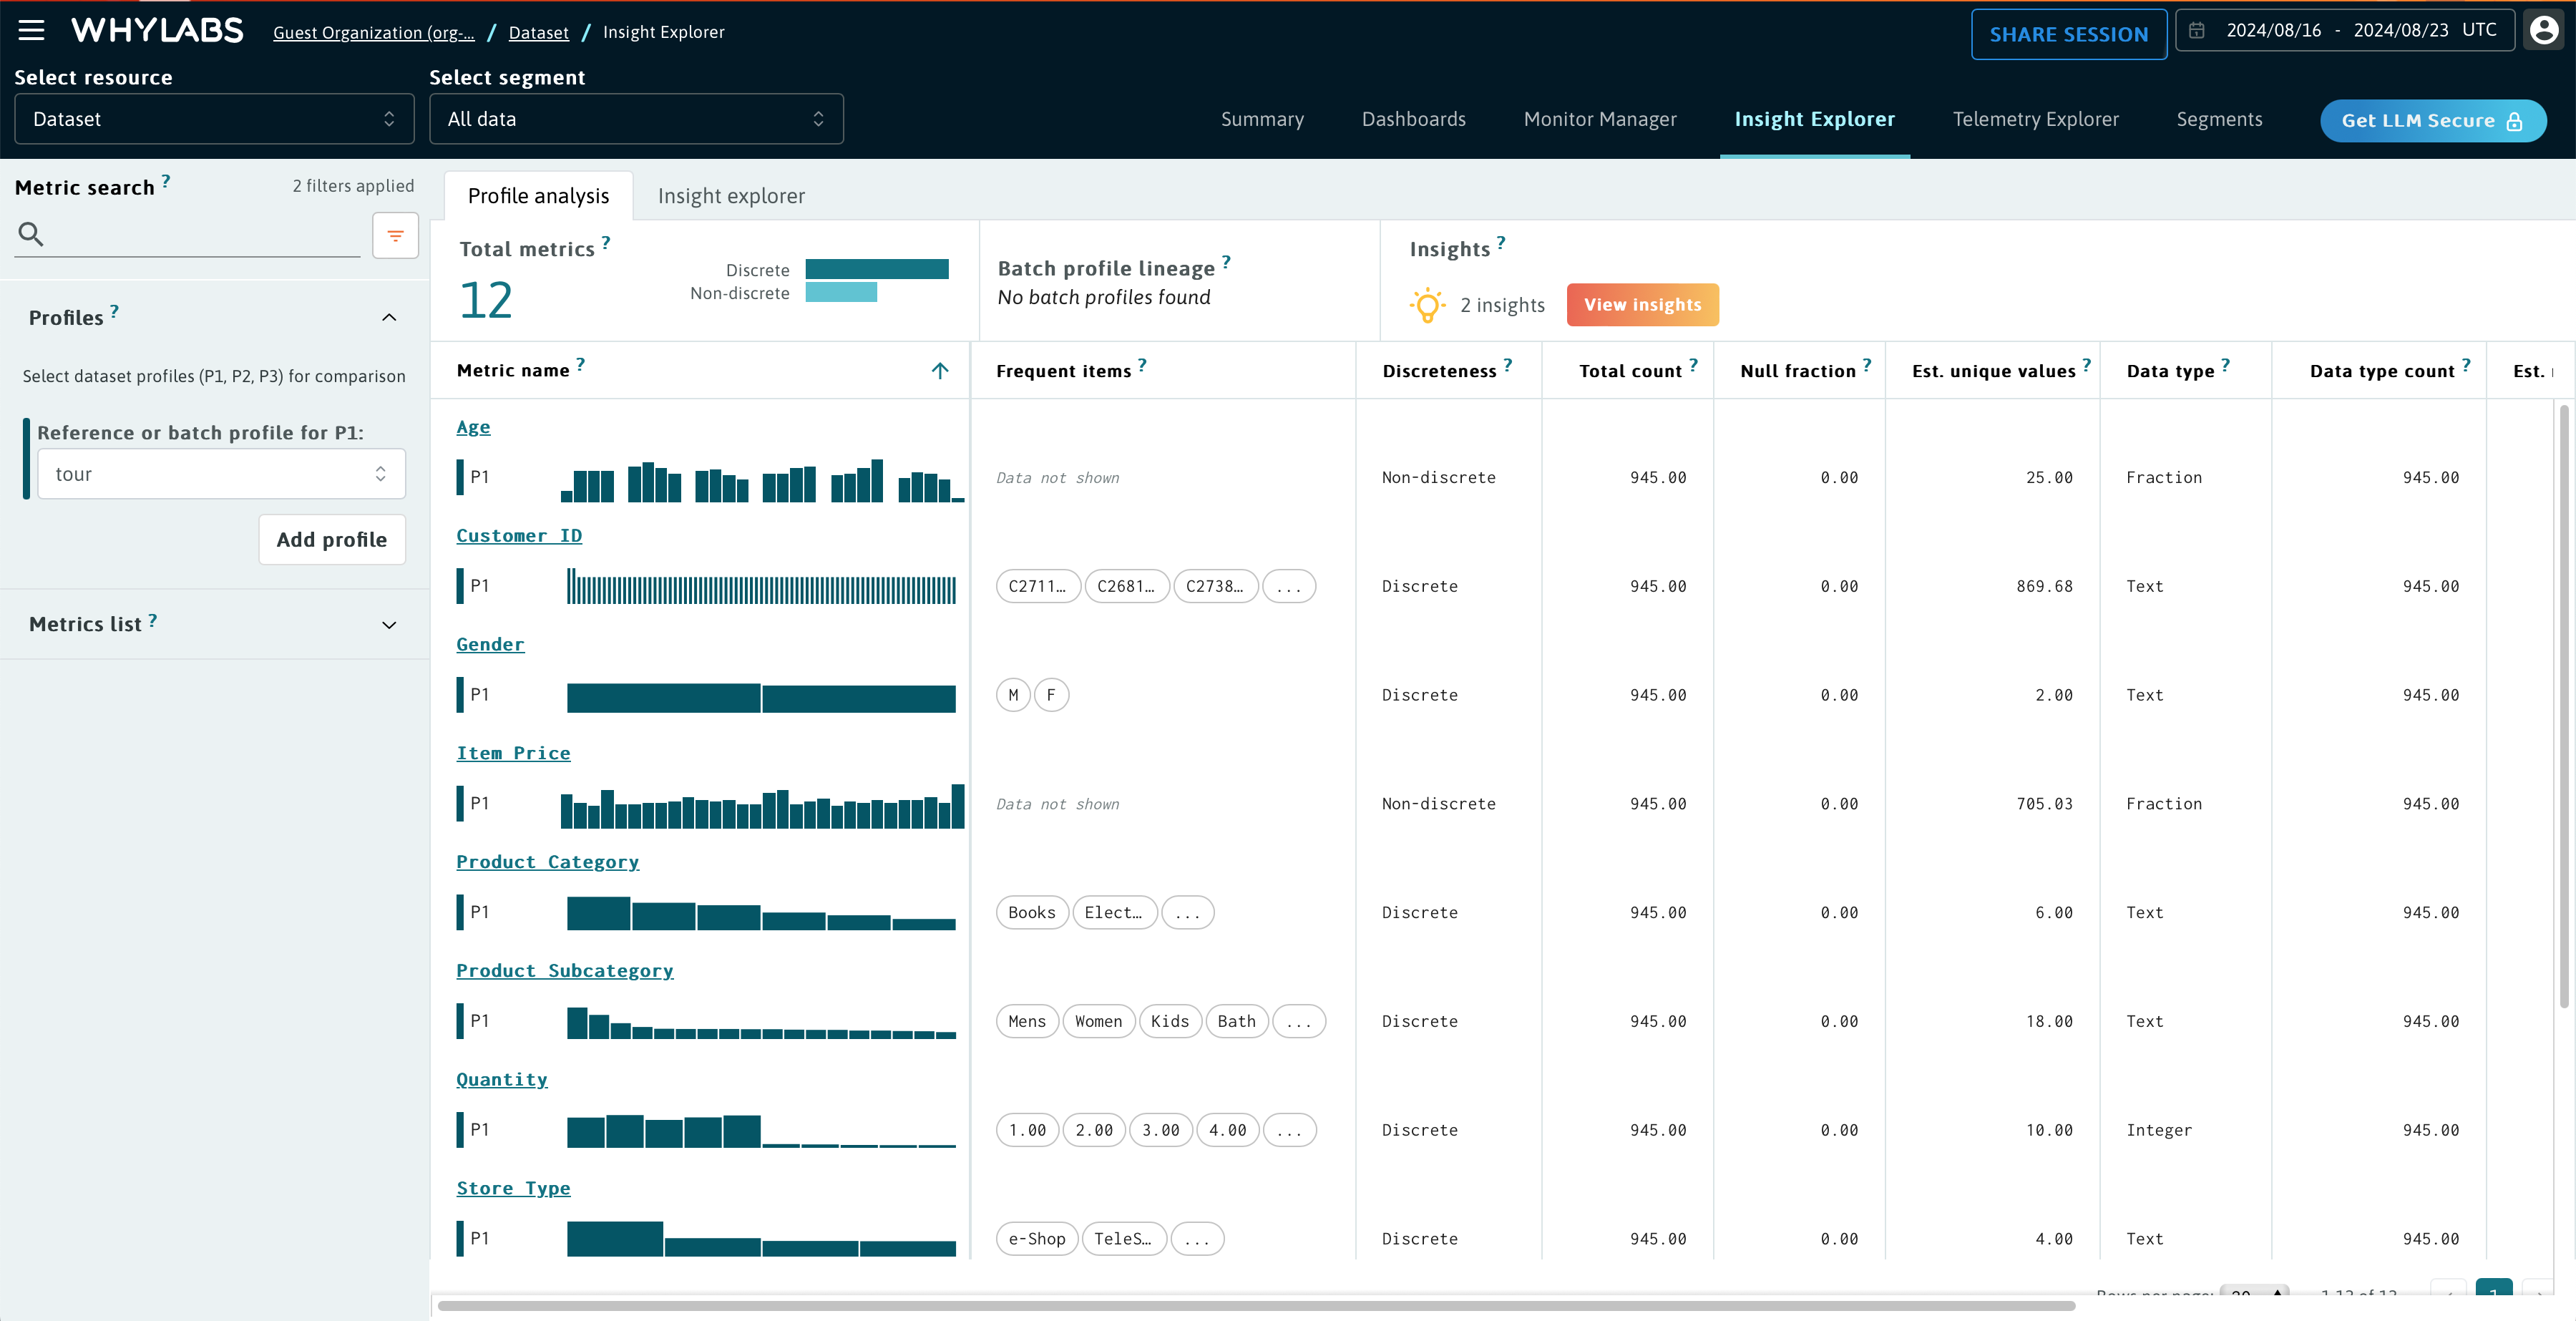
Now, check your dashboard to verify everything went ok. At the Profile tab, you should see something like this:

In the image above, we're comparing both reference profiles sent previously. Usually, we'd be interested in comparing a reference profile with a batch profile obtained in the production pipeline, which is, of course, also possible.