Installing Julia
Install the current stable release of Julia from https://julialang.org/downloads/
Follow the platform-specific instructions in https://julialang.org/downloads/platform/
Make sure you run Julia REPL from the command line.
Julia REPL (Read-Eval-Print Loop)
The Julia REPL, or Julia shell, has at least five modes.
Default mode is the Julia prompt
julia>. Type backspace in other modes to return to the default mode.Help mode
help?>. Type?to enter help mode.?search_termdoes a fuzzy search forsearch_term.Shell mode
shell>. Type;to enter shell mode.Package mode
(@v1.9) pkg>. Type]to enter package mode for managing Julia packages (install, uninstall, update, ...).Search mode
(reverse-i-search). Pressctrl+Rto enter search model.With
RCall.jlpackage installed, we can enter the R mode by typing$(shift+4) at Julia REPL.
Some survival commands in Julia REPL:
quit()orCtrl+D: exit Julia.Ctrl+C: interrupt execution.Ctrl+L: clear screen.Append
;(semi-colon) to suppress displaying output from a command. Same as Matlab.include("filename.jl")to source a Julia code file.
Jupyter
IPython notebook (precursor of Jupyter notebook) is a powerful tool for authoring dynamic document in Python, which combines code, formatted text, math, and multimedia in a single document.
Jupyter is the current development that emcompasses multiple languages including Julia, Python, and R.
In this course, you are required to write your homework reports using Jupyter Lab.
You can use Julia in Jupyter notebook through the IJulia.jl package.
Anaconda
Anaconda is a distribution of the Python and R programming languages for scientific computing, that aims to simplify package management and deployment. The distribution includes data-science packages suitable for Windows, Linux, and macOS. [Wikipedia]
Go to https://www.anaconda.com/products/individual and clike "Download" to install the Anaconda.
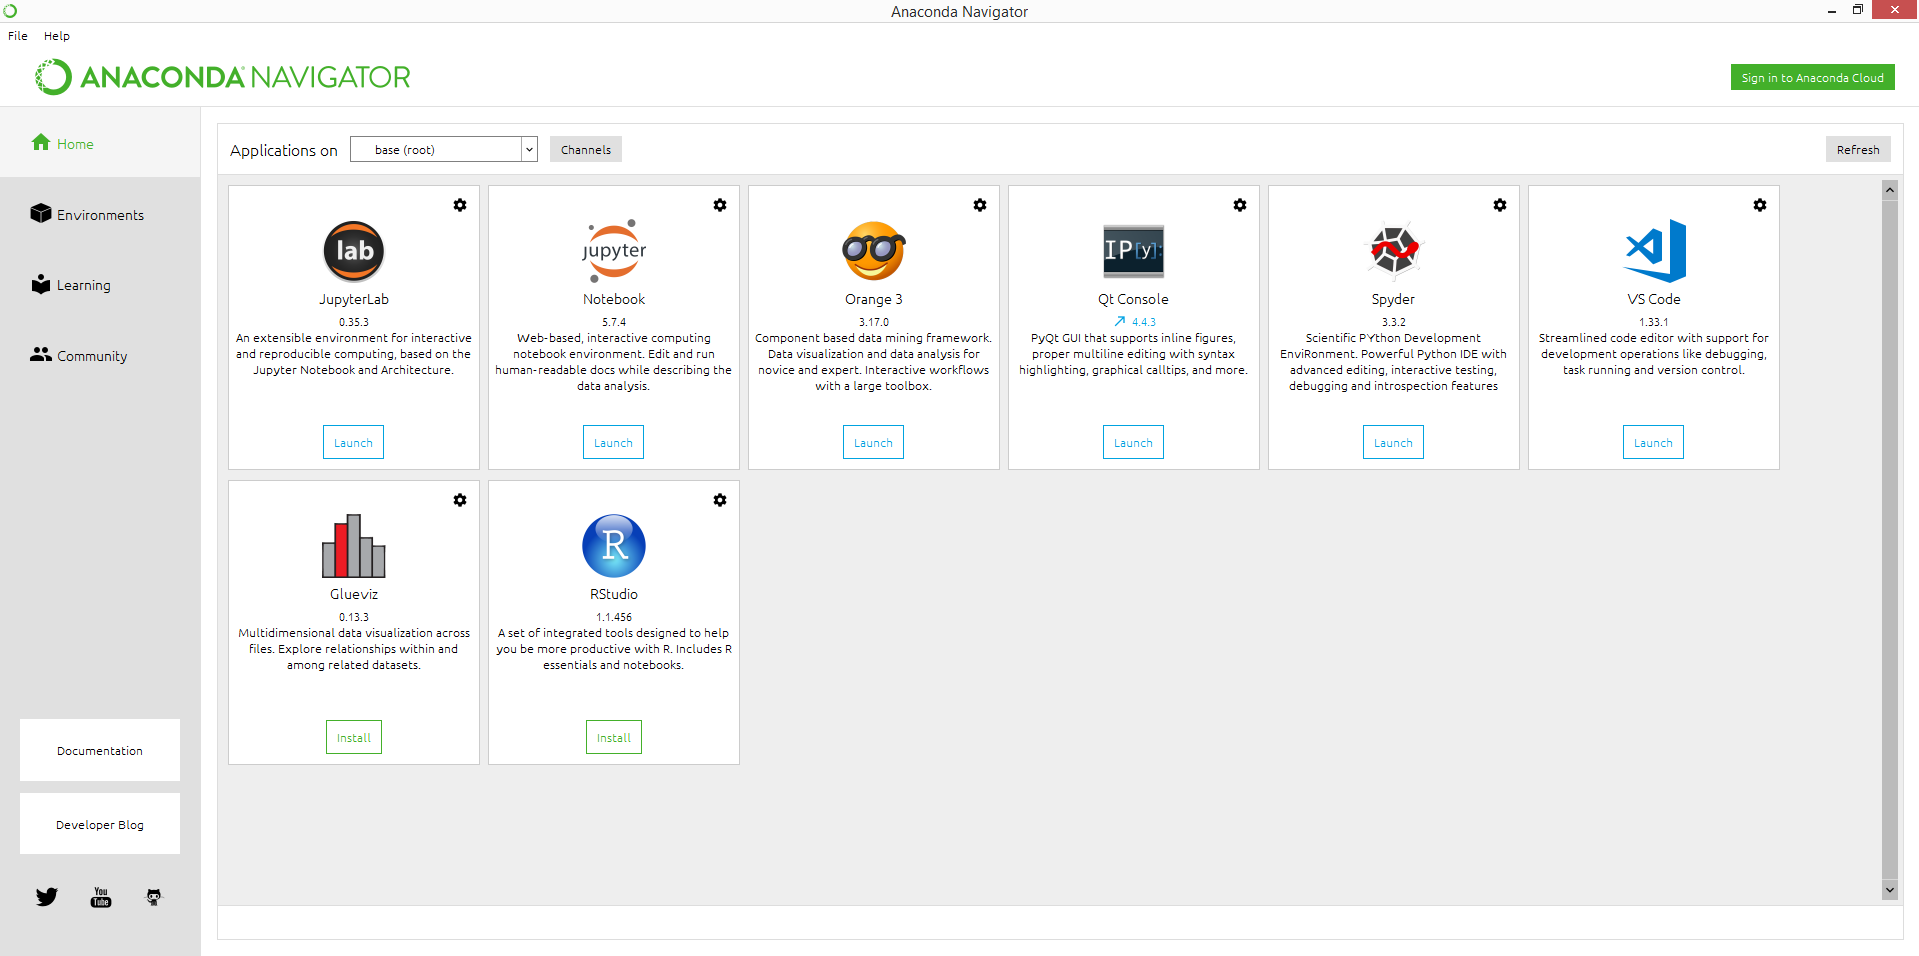
From Anaconda Navigator, user can launch Jupyter Lab.

Jupyter Lab Usage
Useful to know some keyboard shortcuts. I frequently use
shift + return: execute current cell.b: create a cell below current cell.a: create a cell above current cell.y: change cell to code.m: change cell to Markdown.
Check more shortcuts in menu
Help->Keyboard Shortcuts.Notebook can be converted to other formats such as html, LaTeX, Markdown, Julia code, and many others, via menu
File->Download as.Mathematical formula can can be typeset as LaTeX in Markdown cells. For example, inline math: $e^{i \pi} + 1 = 0$ and displayed math
For multiline displayed math: \begin{eqnarray*} e^x &=& \sum_{i=0}^\infty \frac{1}{i!} x^i \\ &\approx& 1 + x + \frac{x^2}{2}. \end{eqnarray*}
IJulia
Install IJulia from the Julia REPL by pressing ] to enter pkg mode and entering:
# in Pkg mode
(@v1.9) pkg> add IJulia
If you already have Jupyter installed on your machine, this process will also install a kernel specification that tells Jupyter how to launch Julia.
Julia package system
versioninfo()
Like R, the functionality of Julia can be extended by using packages.
Each Julia package is a Git repository. Each Julia package name ends with
.jl. E.g.,Distributions.jlpackage lives at https://github.com/JuliaStats/Distributions.jl.
Google search with PackageName.jl usually leads to the package on github.com.
The package ecosystem is rapidly maturing; a complete list of registered packages (which are required to have a certain level of testing and documentation) is at https://julialang.org/packages/
For example, the package called
Distributions.jlis added with
# in Pkg mode
(@v1.9) pkg> add Distributions
and "removed" (although not completely deleted) with
# in Pkg mode
(@v1.9) pkg> rm Distributions
The package manager provides a dependency solver that determines which packages are actually required to be installed.
Non-registered packages are added by cloning the relevant Git repository. E.g.,
# in Pkg mode
(@v1.9) pkg> add https://github.com/kose-y/ParProx.jl
- A package needs only be added once, at which point it is downloaded into your local
.julia/packagesdirectory in your home directory.
Package dependencies are very important in reproducing results. In Julia they can be managed at each project, with `Project.toml' and 'Manifest.toml' files (see here). For example, this lecture note is a project whose environment has the following dependencies.
using Pkg
Pkg.activate(pwd())
Pkg.instantiate()
Pkg.dependencies()
- Directory of a specific package can be queried by
pathof():
using Distributions

pathof(Distributions)  # should look different in your machine
If you start having problems with packages that seem to be unsolvable, you may try just deleting your .julia directory and reinstalling all your packages.
Periodically, one should run
updatein Pkg mode, which checks for, downloads and installs updated versions of all the packages you currently have installed.statuslists the status of all installed packages.Using functions in package.
using Distributions
This pulls all of the exported functions in the module into your local namespace, as you can check using the whos() command. An alternative is
import Distributions
Now, the functions from the Distributions package are available only using
Distributions.<FUNNAME>
All functions, not only exported functions, are always available like this.
Creating your own environments
By default, packages are added to the default environment at
~/.julia/environments/v1.9.It is however easy to create other, independent, projects. This approach has the benefit of allowing you to check in a
Project.toml, and even aManifest.tomlif you wish, into version control (e.g. git) alongside your code.In order to create a new project, create a directory for it and then activate that directory to make it the "active project", which package operations manipulate:
(@v1.9) pkg> activate MyProject
Activating new environment at `~/MyProject/Project.toml`

(MyProject) pkg> st
    Status `~/MyProject/Project.toml` (empty project)
Note that the REPL prompt changes when the new project is activated. Until a package is added, there are no files in this environment and the directory to the environment might not even be created. Added packages and dependencies are stored in
~/MyProject/Project.tomland~/MyProject/Manifest.toml.The above code (default mode in Julia REPL)
using Pkg
Pkg.activate(pwd())
Pkg.instantiate()
activates the Project.toml in the current working directory and sets a new environment; instantiate installs and precompiles any missing packages for the environment to be ready.
Quarto
Quarto, developed by Posit (formerly RStudio), is an open-source scientific and technical publishing system.
Install Quarto by following the instructions at https://quarto.org/docs/get-started/
This note is converted from the Jupyter notebook (
jupyter.ipynb) to HTML by running
quarto render jupyter.ipynb
from the command line.